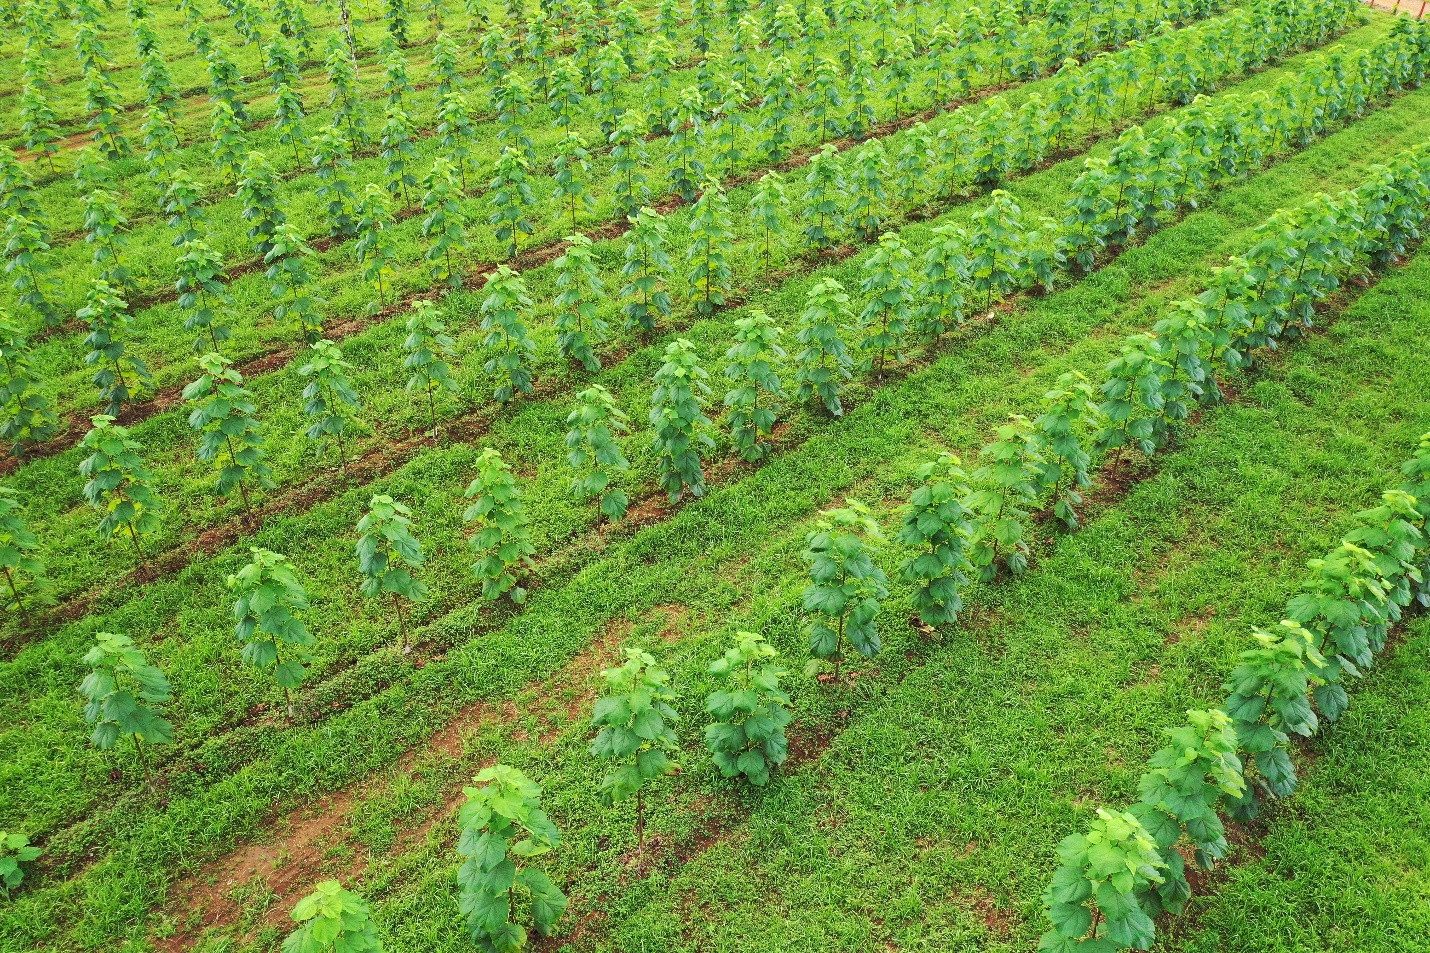
Our aim in pruning lateral branches is to increase the value of your trees by producing clean, knot-free timber. We want our trees to grow tall and straight rather than wide in the first and second years, which gives a higher yield of marketable timber. This process is a delicate balance between pruning the lower limbs and leaving enough leafy upper branches for the tree to sustain itself for the rest of the year.
You will need to set aside time to prune the lower lateral branches in the first months after coppicing. This helps keep your trees in balance, with knot-free stem wood and a productive leaf area. Keeping enough productive leaf area on your trees will help you develop a strong, healthy tree with a sturdy diameter.
Pruning lateral buds (after coppicing)
Your newly cut stem will produce leaves directly from the trunk. Each leaf produces a bud directly above it that has the potential to become a woody branch. It is best to go through the trees and remove these buds before they have the chance to become a branch and create a knot. Removing the lateral buds from the trunk encourages the tree to keep growing more vigorously. We recommend doing this pruning once the tree reaches at least 4 m in height; that way we remove only the branches growing below 1.5 m to 2 m.
The leaves growing from the stem should not be removed, as they are producing food for the growing tree. It is very easy to tear off a leaf by accident while pruning the branches, so keep them in mind. These leaves will fall off by themselves at the end of the season. We recommend doing this pruning monthly, or more often if time allows, during the first year of growth.
Near the end of the growing season, it is important to leave several pairs of branches intact, so the tree has a way to produce leaves and food in the following rainy season.
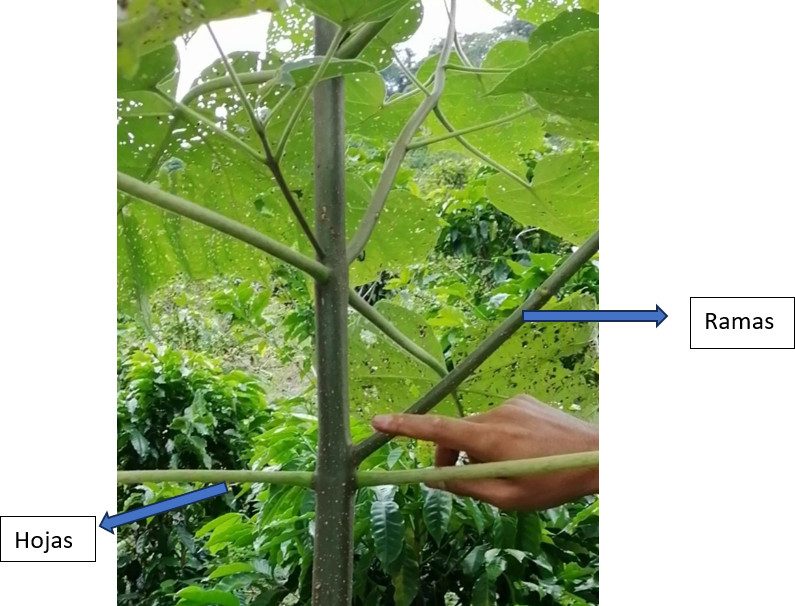
Photo 10 shows which branch should be removed. Avoid cutting the leaves, which are the ones growing horizontally from the main trunk; the branches are the ones sitting diagonally between the leaf and the main stem.
Year 2 after coppicing
What you do in year two after coppicing depends on the size of the tree. Trees will vary in shape and size across the plantation, so do not be discouraged if some trees are doing better than others. It is common for trees to be at different stages of growth.
- Small trees under 4 m tall (or with a significant bend in the trunk): these should be cut back again.
- Our minimum commercial trunk length is 3.6 m. If the existing stem is not straight or is less than 4 m tall, coppicing again will produce a taller, straighter base trunk.
- Keep in mind that minor kinks are fine. However, a deep wound, a bend or a lean will significantly reduce timber quality.
Details of branch pruning
We want to prune the lower branches, working up the tree, while leaving at least 40 to 50% of the foliage at the top of the tree.
It is best to make these cuts while the branches are small and thin, generally under 2.5 cm in diameter, to leave fewer scars on the trunk. If branches get too large before pruning, a knot, a "pit" or other deformities can form on the trunk.
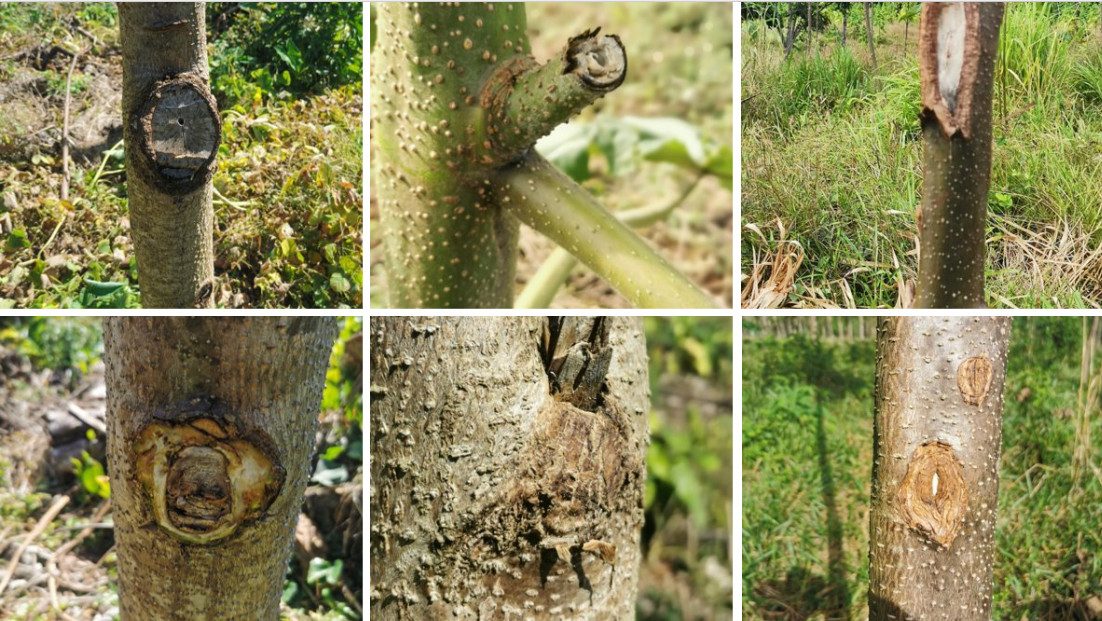
If a branch reaches a relatively large size, say 5 to 8 cm in diameter, that does not mean the trunk is no good. It simply means that area may be a lower grade of timber and that the tree will have more difficulty healing the scar from the large branch. Wounds that are slow to heal let water collect in the hollow, causing the wood to rot and attracting termites. Below is an example of the knots and pits we are trying to avoid.
Making the cut
The following diagram shows how to prune branches with the least possible damage to the tree. Using this 3-step method, we can keep the bark from tearing away from the trunk. Tears in the bark make a larger wound, inviting diseases and pests into the tree and leaving defects in the timber.
Make a partial cut from underneath, about 15 centimeters from the trunk or parent branch. This cut keeps the branch from tearing.
Make a second cut from above, about 10 to 15 centimeters out from the first cut, to let the branch fall safely.
Finish with a final cut, from the top down and at a slant, just outside the "branch collar" (2 cm at most), at the point where it joins the trunk.
- Our aim is a clean cut that heals quickly. The angle of the cut should be perpendicular to the branch rather than parallel to the trunk, which minimizes the surface area of the wound. We want to preserve the branch collar, which contains cambium growth tissue. This helps the wound close faster and prevents disease.
- As the tree's diameter grows outward, the bark at the edge of the pruning scar grows inward. New wood forms under the bark, and it closes over the wound. These cuts are visible when the timber is sawn, so it is best to make them as early as possible to keep them small.
- After pruning, you may see new shoots emerging above the branch scars. Rub them off with your thumb or cut them flush with the stem with pruning shears while they are still green and soft (that is, before they turn woody). These shoots also grow remarkably fast and will overtake the tree's main trunk if left unattended.
- If more than 30% of the leaf area is removed at once, the tree's daily surplus of photosynthetic energy drops considerably, and this leads to a negative feedback loop of reduced root activity and/or reduced wood formation (that is, less diameter growth). This is one reason it pays to check your trees monthly and keep up with branch pruning, rather than doing it all at once.
- Even healthy trees can suffer adverse effects if they are over-pruned.
- We recommend applying pruning sealer to keep out fungi and bacteria.
Tools
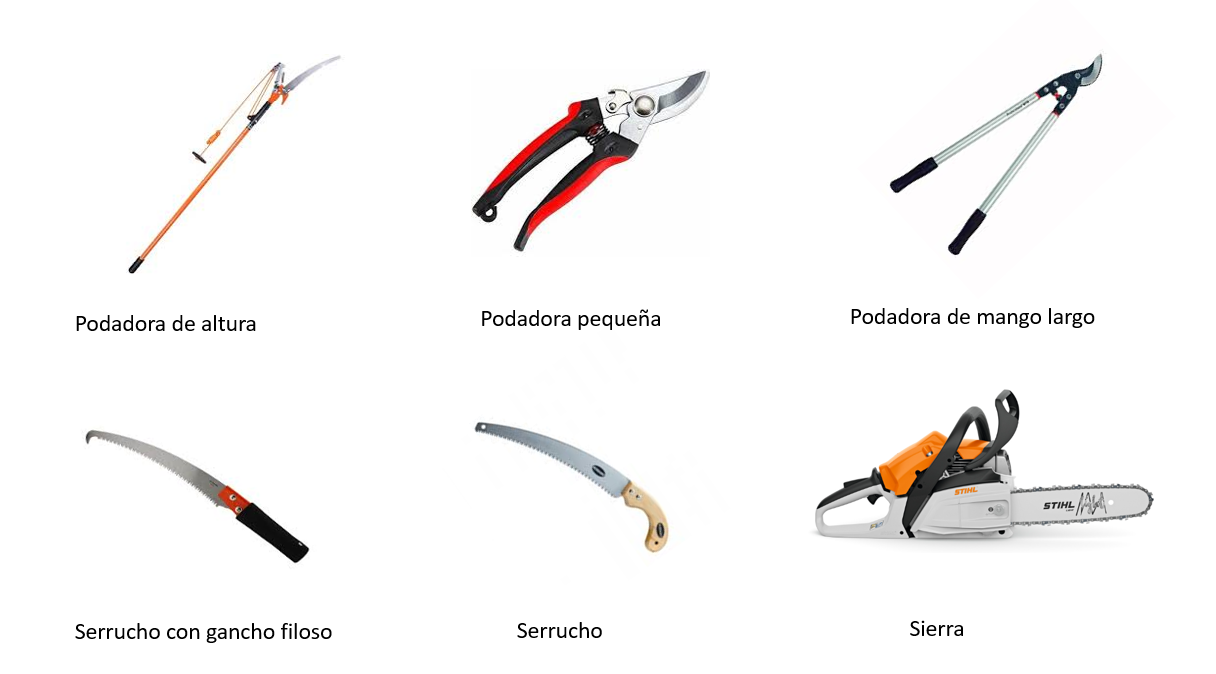
For pruning branches within reach, the best tools are small, sharp hand pruners for buds and small branches, and a hand pruning saw for larger branches. For branches out of reach, we recommend a pole saw or pole pruner. To avoid injury, we do not recommend using a hand saw while standing on a ladder.